Early Season Tips: Part 1 - Avalanche Gear
 Wildflowers are going strong in the alpine, but in the not so distant future, leaves will be falling, wood will be stacked, and the flakes will be flying. Over the next few months as we draw closer to the season I will be posting some pre-season tips. I thought this would be an opportune time to share some of those time-sensitive things starting with avalanche gear and beacon firmware updates. Inevitably, perhaps this will curtail what we will be reading about with wrong turns and questionable choices made that led to that latest rescue in the same not-so-distant-future.
AVALANCHE BEACON
Beacon lifespans vary between different manufacturers, and the notion of when to retire a beacon is up for debate. Most beacon manufacturers warranty their beacons for five years. As a general rule of thumb, five years is about the average lifespan, certainly no older than 10 years. Aging electronics can pose a problem for a life-saving device requiring 100% reliability.
Things that play a role in avalanche beacon lifespan:
- Allowing the beacon to freeze overnight, such as leaving it in a vehicle.
- Leaving batteries in the beacon prolonged periods when not in use.
- Duty cycle, number of days in use.
- Dropping on a hard surface, hard knocks, or trauma.
Check signal acquisition range
With one beacon on transmit or “send”, walk well outside of it’s range with a second beacon, the long axis of the housing aligned to the target beacon, then switch the beacon to receive or “search” and walk toward the target beacon and note the distance on signal acquisition – repeat this a few times, and note the distances.
Then repeat the entire test, but with the target beacon at a 90-degree angle to the searcher, note the distances.
** Note that the transmission antenna is at a 45 degree angle on the BCA DTS and BCA Tracker 2 models, so alignment may be difficult to establish. Ortovox 3+, S1+, Pieps DSP Sport and DSP Pro utilize ‘smart antennas’ which can switch transmission between the antenna on the long axis versus the short axis. These differences aside, you should still be able to get a reliable and repeatable signal acquisition range test.
Check transmission range
Check the transmission range: Similar to a signal acquisition test, except switch the stationary beacon to receive or “search” and the one you are holding to transmit or “send”.
Inspect
Inspect the beacon’s casing and harness system for any physical damage, such as cracks or loose switches.
Inspect the battery compartment for signs of corrosion or looseness.
Ensure the functionality of all buttons and switches. Do they do what they’re supposed to do? If the beacon has an auto-revert function, does it actually revert to send after the specified amount of time and/or lack of activity/motion?
Test for broken secondary antenna
Set up the target beacon and your test beacon so that they are in optimal coupling alignment, i.e., pointing directly at each other. (Note the previous caveats about BCA, Pieps Sport and Pro, and certain Ortovox models.)
Put them far enough apart so that your test beacon is outside the pinpointing/fine phase, but well within the initial (course) acquisition range.
The center directional indicator on the test beacon should display. If not, you have either a broken secondary antenna or some other major problem.
Check for Frequency Drift
The international frequency standard is 457 kHz (kilohertz), and the allowable variance is ±80 Hz. This means the allowable frequency falls between 456.920 and 457.080 kHz. Check for frequency drift with another beacon that has such a capability. Unfortunately, you can’t test for frequency drift with the range tests previously described, since different beacons have widely varying abilities to pick up a drifted transmission. Beacons with frequency test functions include:
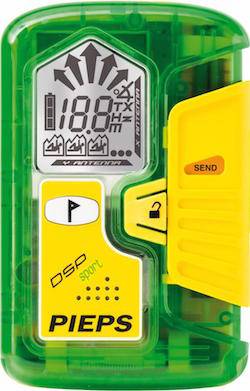
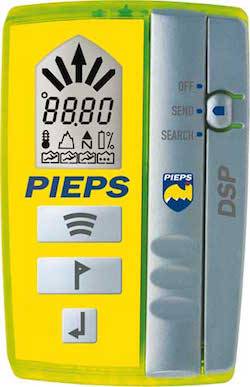
- Pieps DSP [classic] and DSP Pro [newer]
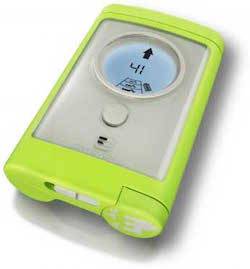
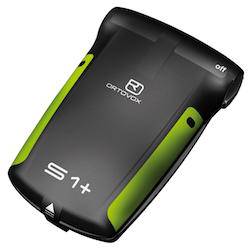
- Ortovox S1, S1+, 3+
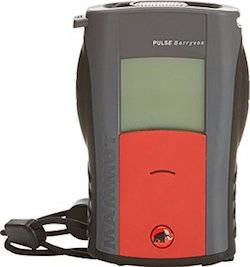
- Mammut Barryvox Pulse
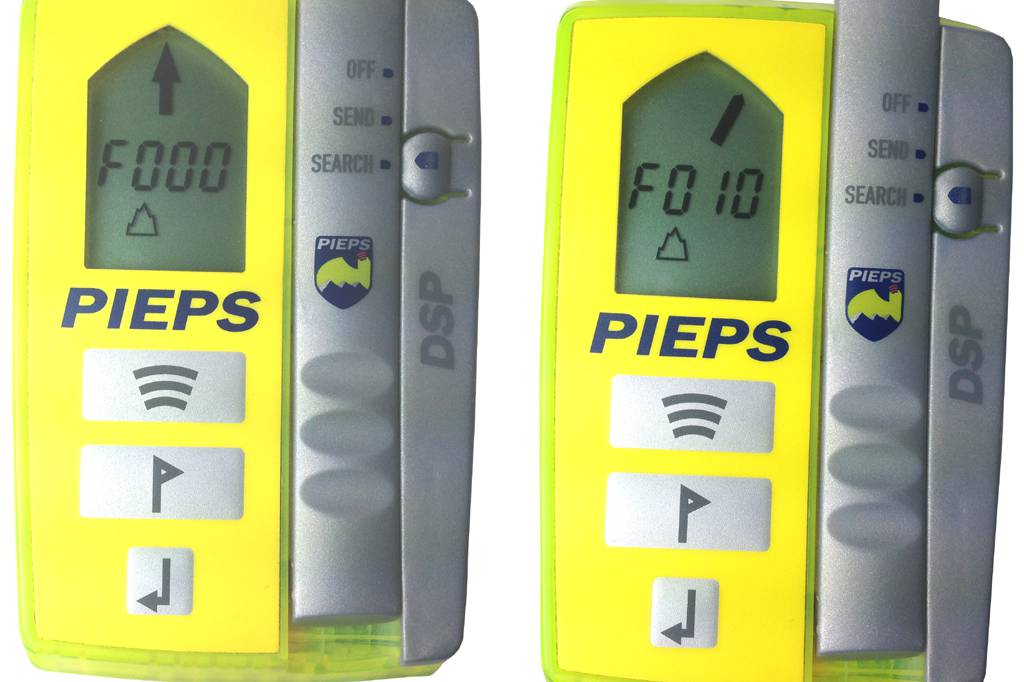
The Pieps DSP is unique in displaying just how far off the frequency is from spec (even if it’s within spec) of other beacons (smart trailhead protocol). Below is a Pieps DSP performing a frequency test function on another beacon. The image left is is showing ±0 (457.000 kHz), no frequency drift on a brand new Pieps DSP Sport. The image right is showing a frequency drift of 10 Hz high (457.010 kHz) on a BCA Tracker 2.
An example of frequency drift first-hand was a beacon drill a few years ago in Silverton, CO. During an early morning practice session two BCA DTS beacons were buried for the exercise and when they were retrieved later in the morning with another BCA DTS, we could not get a lock on them. Perplexed, we tried my Pieps DSP and locked on to them, but the distance at which it locked on was only 15 meters, an unacceptable distance.
The reason?
Temperature can cause frequency drift to behave more erratic. The buried beacons were cold and likely drifted outside the 457 kHz. The BCA DTS that was searching was not able to pickup the frequency outside that range on the buried target beacons. I confirmed this with the Pieps DSP built-in frequency check, both buried beacons were off ±90 Hz.
This creates a few major concerns; Temperature affects frequency drift. A searching beacon may not receive the target beacon’s signal at all. If it does, the distance will be drastically reduced. We repeated this drill using the Pieps DSP, and an Ortovox S1+ as the target beacons, and a Pieps DSP as the searching beacon and could not repeat the problem. This is certainly something to be aware of.
I now check frequency at the trailhead during a beacon check with companion beacons. Storing a beacon in cold temperatures, such as leaving it in your car overnight, may detune the frequency. This is also a good reason to use a dedicated [retired] beacon for practice scenarios rather than a beacon that you use in avalanche terrain, as repeated exposure to temperature will have an effect on frequency drift.
Practice
Run through a couple practice searches, looking for errant behaviors. Try it with single burials and with multiple burials; this is particularly important with modern beacons running fully digital software. Make sure the technology does what it is supposed to do.
Firmware updates
If you haven’t checked the firmware version of your beacon, now would be the time. A firmware update can be performed on most avalanche beacons by sending your beacon in to the manufacturer, a service center, or dealer. Many of them can also perform diagnostic checks, with the caveat being that diagnostics cannot extend the lifespan, rather, it will only prevent the use of a faulty beacon. The average turn around varies from 2-5 weeks.
As of August 2015 here is a list of the latest software firmware versions available for avalanche beacons;
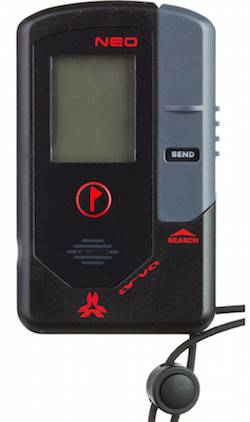
Firmware Version Available: 3.0
The Neo’s firmware version is displayed when you first turn the beacon on.
Firmware Version Available: 5.0
To display the ARVA Pro W or Link firmware number:
- Turn the device off
- Press and hold the two side buttons
- Press and hold the power button until the menu appears (about five seconds)
- Press the left-side button several times to scroll down to “Info”
- Press the red center button
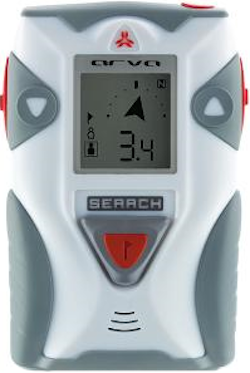
Firmware Version Available: R-04
To determine if you already have version 4 software, disconnect and reconnect one battery while the unit is off. After displaying “t2,” the unit will then display the software version. If the display reads “r04,” then you have the most recent software.
Firmware Version Available: 2.3
To determine which version of software is in your Tracker 3:
- Turn your Tracker3 off.
- Hold the Options button pressed.
- Turn on the unit.
- Release the button when “T3” is displayed.
- An awkward looking “rC” will be displayed followed by the version number (without a decimal point).
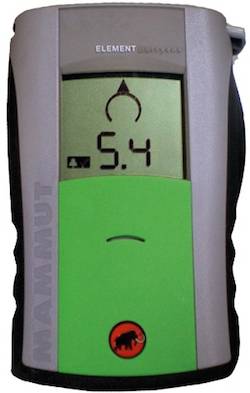
Firmware Version Available: 1.0
The Element displays the firmware version number in the upper-left corner of the display during startup.
Firmware Version Available: 4.0
Beginning with version 3.0, the version number is displayed on the screen when you turn on the power. To check the firmware version on earlier versions, press either button shortly after turning on the unit and then use the left button to scroll through the settings to Maintenance.
Firmware Version Available: 2.1
To determine which firmware version is installed on your 3+:
- Turn on your 3+
- The screen displays the serial number (five two-digit numbers).
- The screen displays a screen test (everything is displayed momentarily).
- The battery percentage is displayed.
- The version number is displayed.
Firmware Version Available: 2.0.3848
Firmware update is noted on startup.
Recall Note: Ortovox has issued an immediate recall of the S1+ model avalanche transceiver due to a repairable hardwear issue. The issue occurs in transmission mode and is based on the limited ability to transmit a discoverable signal, even when turned on and properly functioning. The recall affects all S1+ models that have been distributed in the U.S. after July 2011. The ORTOVOX S1 is not affected by the hardwear issue. For more information here.
Firmware Version Available: 1.2.3488
Firmware update is noted on startup.
Firmware Version Available: 2.0
The firmware version number of the DSP Pro is displayed immediately after turning the beacon on.
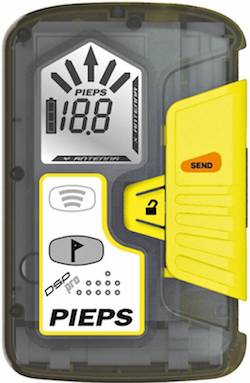
Firmware Version Available: 2.0
The firmware version number of the DSP Sport is displayed immediately after turning the beacon on.
Firmware Version Available: 8.2
To display the firmware version number on the classic DSP and the DSP Tour models, press and hold the “(((” button.
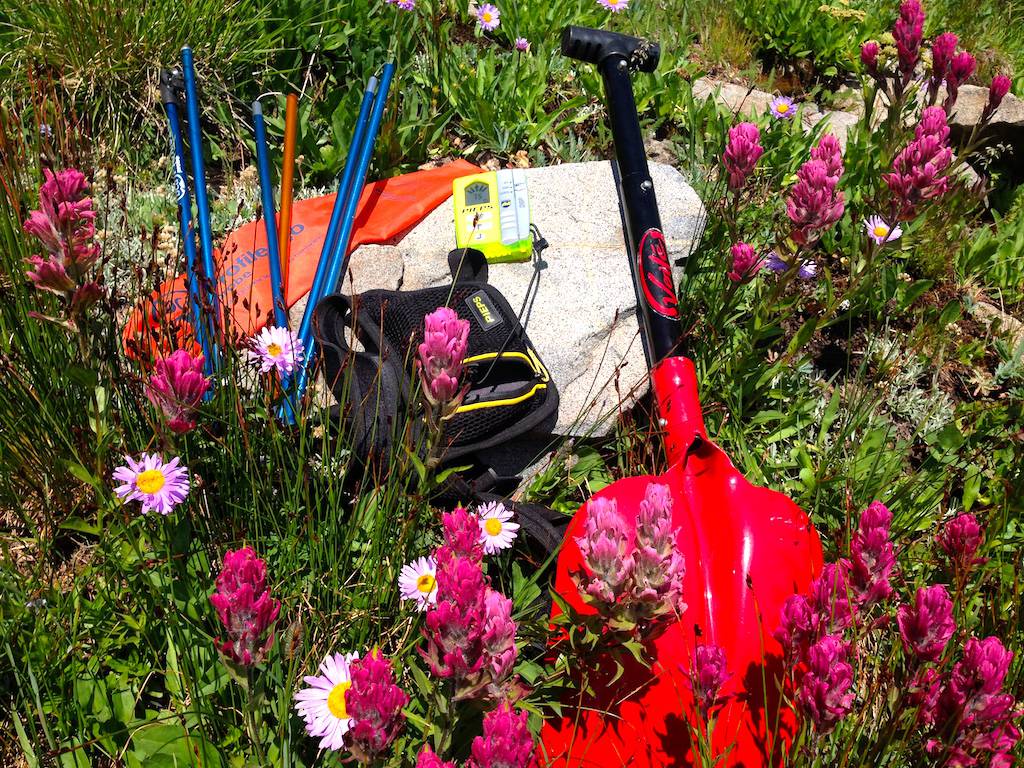
PROBE AND SHOVEL
Check your probe. Often times probes are stored back in their bags after companion rescue practice sessions or after doing a snow profile while still wet. This can cause corrosion in both aluminum and composite materials.I have seen plenty of probes break or fail during exercises and snow profiles. Check the probe’s cord / cable for fray or nicks, and probe joints and ferrules are aligning. Assure there are no micro cracks, chips or corrosion. Wipe down aluminum corrosion areas (a white dusty film) with a 3M pad. Check the locking spring buttons and assure they still function and lock in to place on your avalanche shovel.
Perhaps there is a lot of subjectivity in the notion of when to replace gear, not the least of which is related to how the beacon gets used during its lifespan. Always consider a beacon’s history, and when in doubt, retire it. Gear preparation is not a mission to the moon. Gear prep is not even a “chore”. It’s a habit.
Early Season Tips Series